Unlock Exclusive Gaming Experiences: A Step-by-Step Guide to Creating a Private Server in Roblox
Creating a private server in Roblox is a dream come true for many gamers, allowing them to tailor the experience to their liking, invite friends, and enjoy exclusive features that make the game more enjoyable. In this article, we'll delve into the process of creating a private server in Roblox, exploring the benefits, requirements, and step-by-step instructions to help you get started.
Creating a private server in Roblox is a straightforward process that can be accomplished with minimal technical expertise. However, it does require a Roblox Premium account, a Roblox Studio subscription, or a one-time payment for the "Create Private Server" feature. Once you have the necessary tools and permissions, you can create a private server, customize it to fit your needs, and invite friends to join.
Benefits of Creating a Private Server in Roblox
Creating a private server in Roblox offers numerous benefits, including:
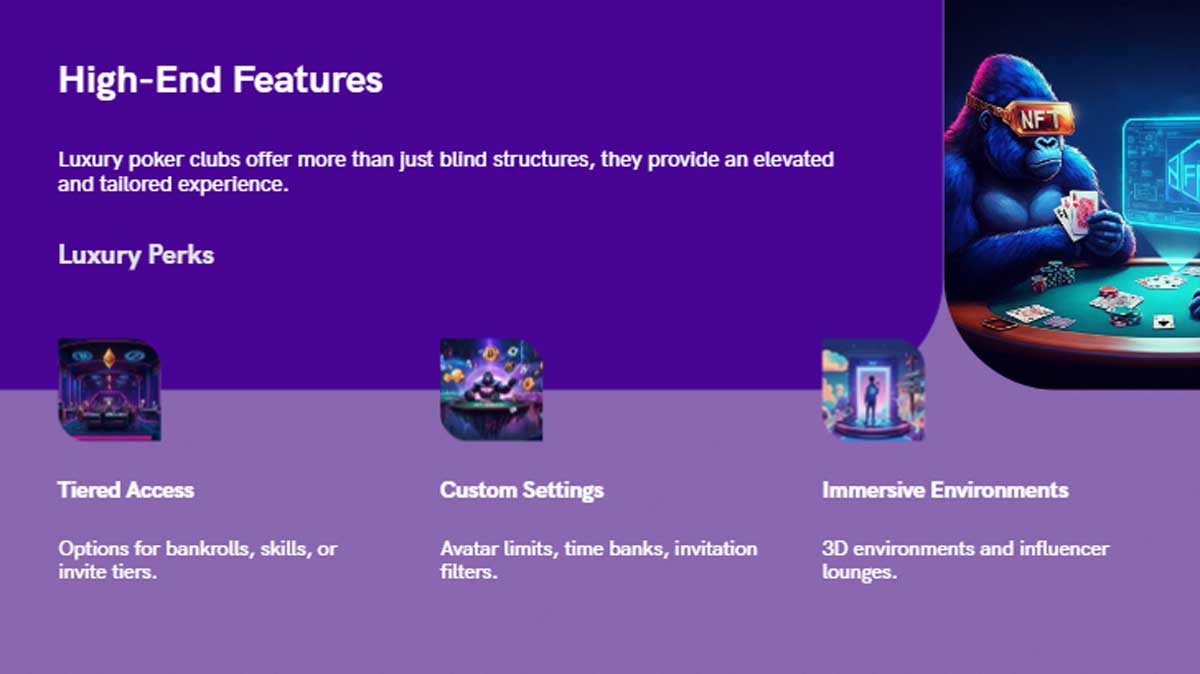
- Customization: With a private server, you can customize gameplay settings, physics, and visuals to create a unique experience.
- Exclusive Features: Private servers often have features disabled in public servers, such as game-breaking glitches, OS sums, or goals.
- Flexibility: Private servers allow you to adjust the number of players, game modes, and difficulty levels to suit your preferences.
- Friendliness: Invite friends to join your private server, and enjoy the camaraderie and banter of playing together in a controlled environment.
- Record Keeping: Private servers allow for detailed record keeping, enabling you to track player progress, scores, and achievements.
Requirements for Creating a Private Server in Roblox
Before you start creating a private server in Roblox, ensure you meet the following requirements:
Roblox Account and Subscription
To create a private server in Roblox, you'll need a Roblox Premium account or a subscription to Roblox Studio. If you don't already have a Premium account, you can sign up for a free trial or purchase a subscription. Premium accounts offer additional features and capabilities, including the ability to create private servers.
Roblox Studio Subscription or "Create Private Server" Feature
If you don't have a Roblox Studio subscription, you can purchase the "Create Private Server" feature for a one-time fee. This feature allows you to create and customize private servers without the need for a Roblox Studio subscription.
Computer Specifications
To ensure a smooth gaming experience, your computer should meet the following specifications:
- Processor: Intel Core i5 or AMD equivalent
- Memory: 8 GB RAM or more
- Graphics: NVIDIA GeForce GTX 1060 or AMD equivalent
- Operating System: Windows 10 or macOS High Sierra (or later)
Step-by-Step Guide to Creating a Private Server in Roblox
Creating a private server in Roblox is a relatively straightforward process. Here's a step-by-step guide to help you get started:
Step 1: Create a Roblox Account
If you don't already have a Roblox account, sign up for one on the Roblox website. Fill out the registration form, and verify your account through email or social media.
Step 2: Upgrade to Roblox Premium
Purchase a Roblox Premium account or subscription to gain access to exclusive features, including the ability to create private servers.
Step 3: Access Roblox Studio
Head to the Roblox website, log in to your account, and click on the "Studio" tab. You can also download the Roblox Studio PC application for free.
Step 4: Create a New Game
In Roblox Studio, click on the "File" menu, select "New Game," and choose a template or start from scratch. Give your game a unique name, and add a description to help others understand its purpose.
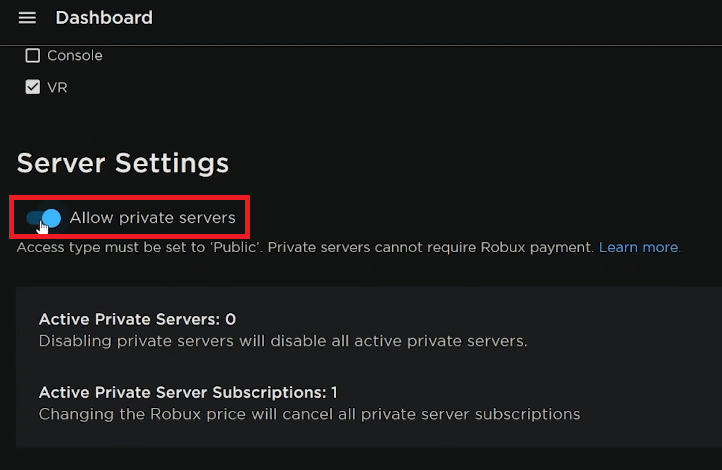
Step 5: Set up Private Server Options
In the "Settings" menu, locate the "Private Server" section. Here, you can adjust settings such as game mode, physics, and visuals. You can also customize gameplay settings, such as speed, gravity, and collision detection.
Step 6: Save and Publish Your Game
Once you've customized your game, save it as a new game file. In the "File" menu, select "Publish Game," and choose the private server option. This will create a URL for your private server, which you can share with friends.
Step 7: Invite Friends and Join the Fun!
Send the private server URL to your friends, and invite them to join your exclusive gaming experience. As you explore and play on your private server, take note of any bugs, glitches, or areas for improvement.
In conclusion, creating a private server in Roblox is an exciting venture that offers unparalleled flexibility and customization options. While it does require a Roblox Premium account or subscription, the benefits far outweigh the costs. With a private server, you can tailor the gaming experience to your needs, collaborate with friends, and unlock exclusive features. Whether you're a seasoned gamer or a beginner, creating a private server in Roblox is an adventure worth exploring.